Overview
This guide is designed to get you up and running quickly through creating a bank to bank transfer between a verified Customer’s two bank accounts. In this guide we’ll cover the basics of integrating this payment flow by walking through the steps needed to onboard your end user as a verified Customer and create the bank to bank transfer.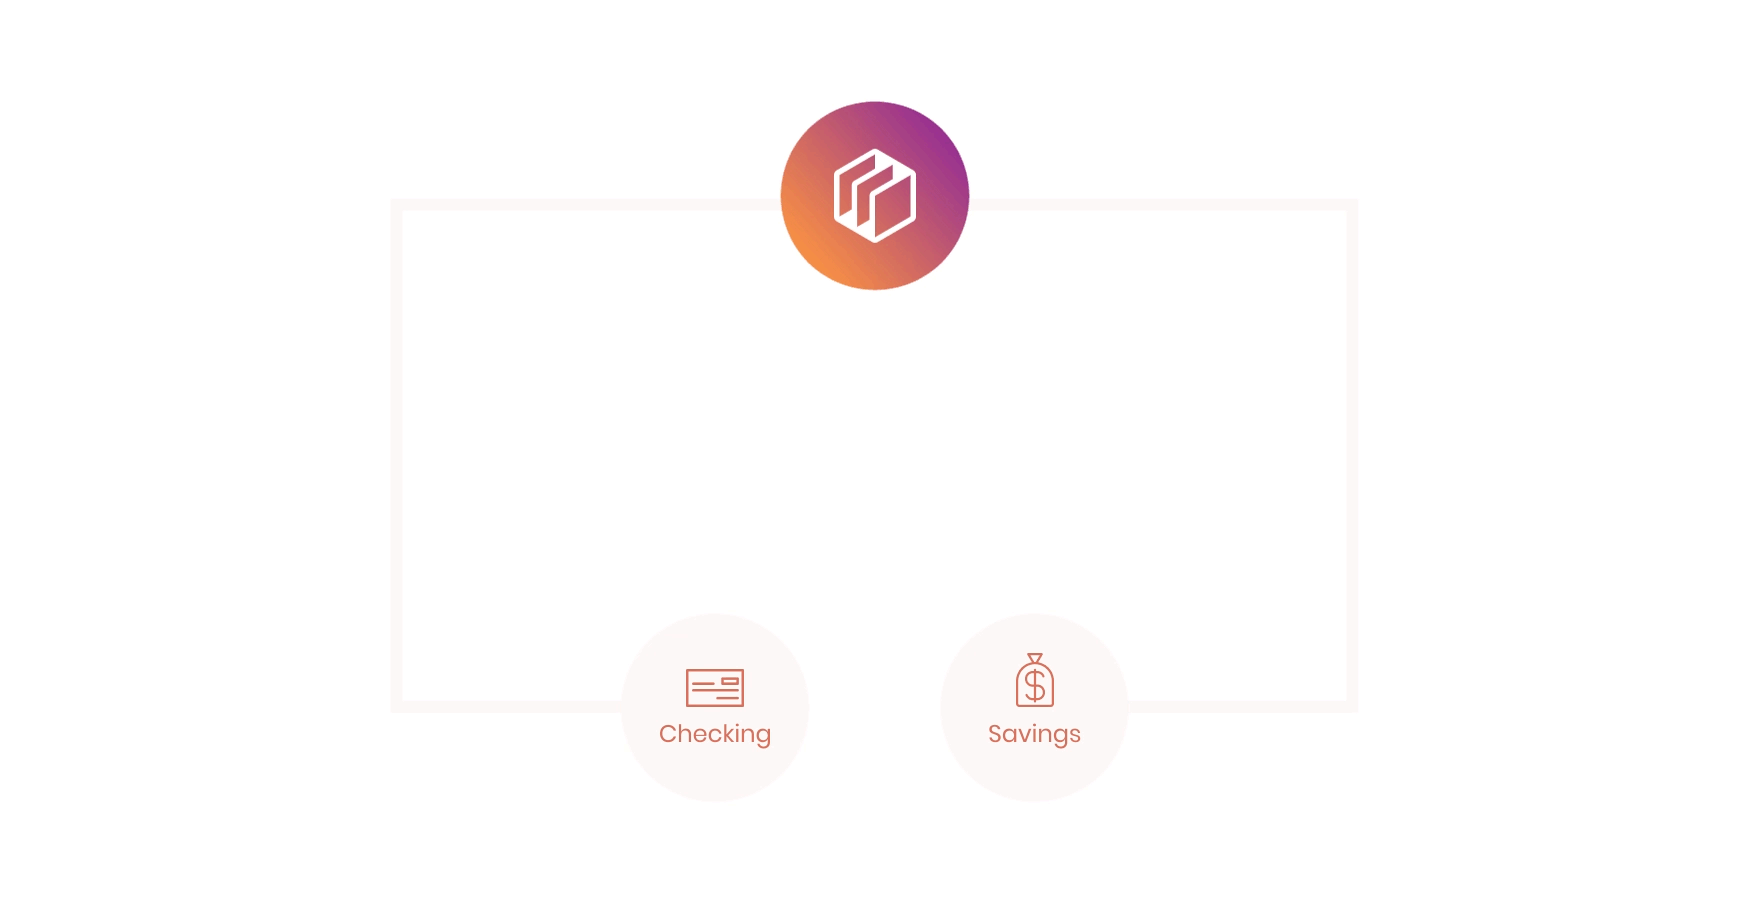
Choose a Customer type and create a verified Customer record
Select the appropriate Customer type and create a verified Customer in your application.
Attach a source and destination funding source to the Customer record
Link both a source and a destination bank account to the Customer’s profile for account-to-account transfers.
Fetch the available funding sources
Retrieve the list of all funding sources associated with the Customer.
Before you begin
We encourage you to create a account, if you haven’t already. This will allow you to follow along with the steps outlined in this guide. Check out our Sandbox guide to learn more. After creating a sandbox account, you’ll obtain your API Key and Secret, which are used to obtain an OAuth access token. An access token is required in order to authenticate against the Dwolla API. Learn more about how to obtain an access token in our guide. Lastly, in this sandbox walkthrough, we recommend having an active webhook subscription. This will help notify your application of various events that occur within Dwolla. Check out our guide to learn more. Let’s get started!Step 1 - Creating your Customer
Choose the Customer Type for Your Funds Flow
Before your end user can send or receive funds to their connected bank account, they must be created as a Customer via the Dwolla API. With this funds flow, however, the only eligible Customer types are:- Verified Personal Customers
- Verified Business Customers
Verified Customers must go through the identity verification process and have
a
verified status in order to be eligible to transact. In order
to verify the identity of the individual or business creating a Dwolla
Customer account, you will need to pass information including, but not limited
to, social security number (SSN), address, date of birth, and/or Employer
Identification Number (EIN).Create the Customer
While both the Personal and Business verified Customer types are valid in this funds flow, we will be creating a Personal verified Customer in this guide.Request Parameters - Personal Verified Customer
| Parameter | Required | Type | Description |
|---|---|---|---|
| firstName | yes | string | Individual’s legal first name. |
| lastName | yes | string | Individual’s legal last name. |
| yes | string | Customer’s email address. | |
| type | yes | string | Type of identity verified Customer. Value of personal for individual. |
| address1 | yes | string | Street number, street name of individual’s physical address. |
| address2 | no | string | Apartment, floor, suite, bldg # of individual’s physical address. |
| city | yes | string | City of individual’s physical address. |
| state | yes | string | Two-letter US state or territory abbreviation code of individual’s physical address. |
| postalCode | yes | string | Customer’s US five-digit ZIP or ZIP + 4 code. |
| dateOfBirth | yes | string | Customer’s date of birth. Must be 18 years of age with format of YYYY-MM-DD. |
| ssn | yes | string | Last four-digits of individual’s social security number. |
Request and response
201 HTTP response with an empty response body. You can reference the Location header to retrieve a link that represents the created Customer resource. We recommend storing the full URL for future use, as it will be needed for actions such as attaching a bank or correlating that are triggered for the user in the Dwolla system.
Providing the IP address of the end user accessing your application as the
ipAddress parameter. This enhances fraud detection and tracking.Handle Webhooks
If you have an active webhook subscription, you will receive thecustomer_created and customer_verified webhook immediately after the resource has been created.
Additional expected behavior
Customer Statuses
Not all Customers will have averified status upon initial Customer creation. In production, you may run into an instance where more information is needed from your end user in order for Dwolla to fully verify their identity. Other statuses your Customer may be placed in include, retry, document, deactivated, or suspended. For more information on these statuses, refer to our developer resource article.
Balance Funding Source
On successful Customer verification, Dwolla will also create a Balance Funding Source for this Customer.There are two types of Funding Sources available within the Dwolla Platform
which include a bank or a balance. A bank account is commonly used as the
source or destination for ACH transfers. A
balance is a Funding
Source that can be utilized like a “wallet” for holding a stored value of
funds. The Dwolla balance is made available for Customers that have fully
verified their identity within Dwolla.Step 2 - Adding Funding Sources
Within Dwolla, the sending party must always verify their bank account in order to be eligible to create a transfer.Bank Addition and Verification Methods
There are multiple ways of adding a bank to a Customer with the Dwolla API. A simplified table below outlines the similarities and differences of each method.| Bank Addition Method | Will the bank be verified? | Required Information |
|---|---|---|
| API - Account & Routing Number | Optional - With Microdeposits | Bank Account and Routing Number |
| Dwolla + Open Banking | Yes | Online banking credentials |
| Drop-in components | Optional - With Microdeposits | Bank Account and Routing Number |
| Dwolla + Secure Exchange solution | Yes | Online banking credentials |
| Other Approved Third-party Provider | Yes | Variable |
For more information on securely submitting a user’s bank details directly to
Dwolla from the client-side of your application, reference our
Drop-in components
.
Add a Bank to a Verified Personal Customer
In this step, we will create and attach a verified funding source to your Customer using Dwolla’s Open Banking solution with Plaid, a leading Open Banking service provider that Dwolla partners with. This method will give your Customers the ability to add and verify their bank account in a matter of seconds by authenticating using their online banking credentials. Once your Customer reaches the page in your application to add a bank account, you will use Open Banking with Plaid to authenticate the user’s bank account. This involves initiating an with Dwolla, guiding the user through the verification process with their bank, and then using the details to create a funding source in Dwolla. To integrate Open Banking with Plaid, we recommend checking out our integration guide. Additionally, if you would like to see a working example that verifies a bank using Open Banking with Plaid and attaches it as a verified funding source to a Dwolla Customer, please check out our open-banking/plaid integration example on our GitHub profile.Step-by-step guide on implementing Open Banking with Plaid
Handle Webhooks
If you have an active webhook subscription, you should receive both thecustomer_funding_source_added and customer_funding_source_verified immediately following the request to Dwolla to add a funding source using Open Banking.
Add a Savings Account
Once you have implemented Dwolla’s Open Banking solution with Plaid, and you have attached a customer’schecking account, you will want to repeat the same steps outlined above to add the customer’s savings account as a funding source as well.
Step 3 - Retrieve Funding Sources
In order to find your Customer’s available bank and balance funding sources, you will need to first retrieve the funding sources from your Customer, via the API.Request and response
200 HTTP response with the details of the funding sources. After retrieving the funding sources, we recommend storing the full URL for future use as it will be referenced when creating the transfer to this user’s bank account.
Step 4 - Initiating a Transfer
Sending funds from the Customer’s checking account to their savings account.Identify Source and Destination For Transfer
The first step is to determine where the funds are being sourced from and where the funds are going to.Source- Your Customer’s Checking Bank Funding SourceDestination- Your Customer’s Savings Bank Funding Source
me-to-me funds flow, you will need to know that there are two parts to a transfer,
- Source funding source to Balance funding source
- Balance funding source to Destination funding source
Initiate a Transfer
To initiate a transfer, we will need to specify the source and destination funding source URLs in the_links parameter.
Request Parameters
| Parameter | Required | Type | Description |
|---|---|---|---|
| _links | yes | object | A _links JSON object describing the desired source and destination of a transfer. Reference the Source and Destination object to learn more about possible values for source and destination. |
| amount | yes | object | An amount JSON object. Reference the amount JSON object to learn more. |
Within a transfer request, Dwolla supports additional optional parameters.
These can range from
clearing to specify the processing timing
for the transfer, or correlationId to help correlate transfers
from end-to-end. The object facilitator-fee isn’t supported for
this funds flow. For more information on all available transfer request
parameters, check out our API reference documentation.Request and response
Handle Webhooks
If you have an active webhook subscription (required in production & optional in ), you will receive thecustomer_bank_transfer_created immediately after the transfer resource has been created. This denotes that the first part of the transfer has been initiated from the checking bank funding source to the Balance funding source.
Simulate Bank Transfer Processing
To simulate bank transfer processing in the Dwolla Sandbox environment, navigate to the Sandbox Dashboard. From here, you will want to click the “Process Bank Transfers” button on the top of the screen. Your Sandbox transfer will be moved out of a pending status and moved to a processed status.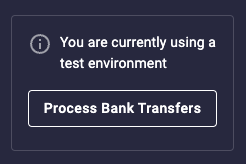
Handle Webhooks
If you have an active webhook subscription (required in production & optional in Sandbox), you will receive thecustomer_bank_transfer_completed webhook when the status of the first part of the transfer has changed from pending to processed. The second part of the transfer is then automatically initiated from the Balance funding source to the savings bank funding-source which triggers another customer_bank_transfer_created webhook. Repeat simulate bank transfer processing to simulate bank transfer processing again. Once the transfer has cleared into the final destination bank funding source, you will receive another customer_bank_transfer_completed webhook denoting that the transfer is now complete.
Verify Status of Transfer
Since ACH transfers in production can take a few days to complete, webhooks are an efficient way to notify you of when a transfer’s status has been updated frompending to processed to a destination funding source. However, if you want to verify the status of a transfer at any given point in time, you can make a call to the API to retrieve the transfer by its unique id.